
Monday - Saturday: 7AM - 7PM
DIY Concrete Repairs: Fix Cracks & Chips Effectively
No Author • August 15, 2024
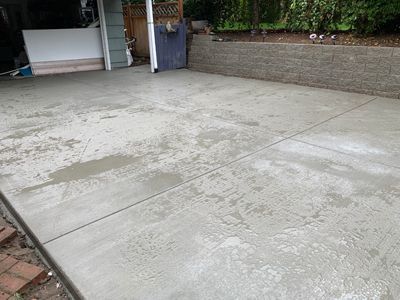
Concrete is a durable and versatile material, but over time, it can develop cracks and chips that detract from its appearance and functionality. Fortunately, tackling these issues doesn’t have to be a daunting task. With a bit of knowledge and the right tools, you can handle DIY concrete repairs effectively and restore your surfaces to their former glory.
In this guide, we'll walk you through simple, step-by-step methods to fix cracks and chips, providing you with practical tips to achieve professional-looking results. Whether you're dealing with minor blemishes or larger areas of damage, this article will help you confidently take on the repair job and keep your concrete looking great for years to come.
Understanding Concrete Cracks: What are the Causes?
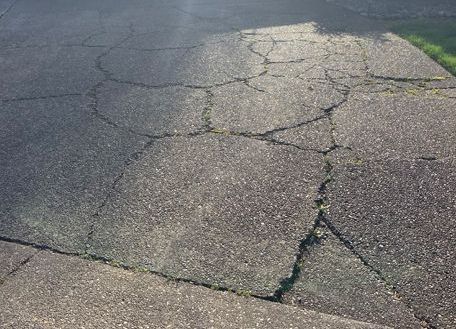
Concrete cracks can appear out of nowhere, catching you off guard. But there's no need to worry—understanding what causes these cracks is the first step to fixing them. Whether it's from changing weather, shifting soil, or natural wear and tear, concrete can develop cracks over time.
But here’s the good news: most cracks aren’t dangerous and can be repaired easily. By learning what causes them, you’ll be better prepared to prevent future damage. So, let’s roll up our sleeves and get ready to tackle those cracks like a pro!
Essential Tools for DIY Concrete Repairs
Before starting your DIY concrete repair, make sure you have the right tools on hand. Think of these tools as your essential helpers—they’ll ensure you complete the job efficiently and effectively. Here’s what you’ll need:
- Chisel and Hammer: Ideal for removing any loose concrete around the crack.
- Wire Brush: Perfect for scrubbing away dirt and debris.
- Concrete Mix or Repair Compound: The key ingredient to filling in gaps.
- Trowel: Your main tool for smoothing the repaired surface.
- Protective Gear: Gloves and safety glasses to keep you protected.
Having these tools ready will make your repair work much easier.
How to Prepare the Area for Concrete Repair
Proper preparation is crucial for successful concrete repair. Just like you wouldn’t paint a wall without cleaning it first, you need to do the same with concrete. Begin by clearing the area of any loose debris, dirt, or old concrete. Use a wire brush to scrub away any stubborn spots. After cleaning, rinse the area with water to remove any remaining dust. This step helps the new concrete bond more effectively, ensuring a stronger and more durable repair.
Step-by-Step Guide to Repairing Small Cracks in Concrete
Ready to fix those small cracks? Follow these easy steps:
- Clean the Crack: Use a wire brush and water to remove any dirt and debris from the crack.
- Prepare Your Repair Compound: Simply follow the instructions provided on the product to mix your concrete or repair compound correctly.
- Apply the Mix: Fill the crack with the mixture using a trowel, making sure to press it in to eliminate any air bubbles.
- Smooth It Out: Once the crack is filled, smooth the surface with your trowel so it matches the surrounding concrete.
- Let It Dry: Allow the repair to dry completely, which may take a few hours or days depending on the size.
And there you have it! Your small crack is fixed, and with a bit of effort, your concrete looks like new again.
Fixing Large Cracks in Concrete Surfaces
Don’t be overwhelmed by larger cracks and chips—they’re similar to fixing small cracks but require a few additional steps. Start by widening the crack slightly with a chisel and hammer; this helps the repair material adhere better.
Then, follow the same process as with small cracks: clean the area, mix your repair compound, and apply it. For larger cracks, you may need to apply the mix in layers, letting each layer dry completely before adding the next. This approach ensures a solid repair that will last.
Choosing the Right Repair Products: Sealants, Patches, and More
Choosing the right repair products might seem challenging, but it’s easier than it looks. Think of it like picking ingredients for a recipe—each product serves a specific purpose. For small cracks, a basic concrete mix or crack filler will work well.
Sealants are great for protecting your repairs from water damage and extending the lifespan of your concrete. These products provide a waterproof surface that can help prevent future damage. If you’re unsure, don’t hesitate to ask for guidance at your local hardware store.
How to Smooth and Finish Repaired Concrete
After filling the cracks, it’s time to finish off your repair by smoothing the surface. If you want a clean and professional-looking finish, you do not want to miss this step. Use your trowel to carefully level the repair compound with the surrounding concrete.
For an extra polished look, gently go over the area with a damp sponge once the compound begins to set. This helps blend the repair seamlessly with the existing concrete. Don’t rush the drying process as it can lead to more problems. A smooth, well-finished surface is the final touch that makes your DIY repair look great!
Preventing Future Damage: Tips for Long-Lasting Concrete
Now that your concrete looks fantastic, it’s important to keep it in top shape! Day-to-day maintenance is vital in preventing any possible damages in the future. Sweep and clean your concrete surfaces frequently to avoid dirt and debris buildup.
Seal your concrete every few years to shield it from the elements—think of it like sunscreen for your driveway. Also, watch for any small cracks that may develop over time. Fixing them early helps prevent them from becoming larger issues.
Common Mistakes to Avoid When Repairing Concrete
Even with the best plans, mistakes can happen. But don’t worry—we’re here to help! Watch out for these common errors:
- Skipping the Cleaning Step: Always clean the area thoroughly before starting your repair.
- Improper Mixing of the Repair Compound: Follow the instructions carefully to ensure a strong repair.
- Rushing the Drying Time: Be patient and let the repair dry completely for the best results.
- Neglecting Small Cracks: Fix small cracks early to prevent them from becoming larger issues.
By avoiding these mistakes, you’ll achieve a repair that lasts for years.
Know Your Limits: Let the Professionals Step In
DIY repairs are a great way to save money and discover new skills. However, for large damage areas, structural issues, or if you’re feeling overwhelmed, it’s wise to seek professional help.
Detail Concrete LLC in Portland is ready to assist! Call us at
(503) 849-0863 for all your concrete repair needs.
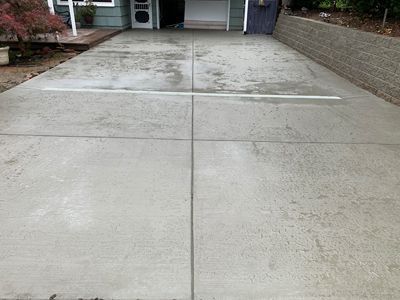
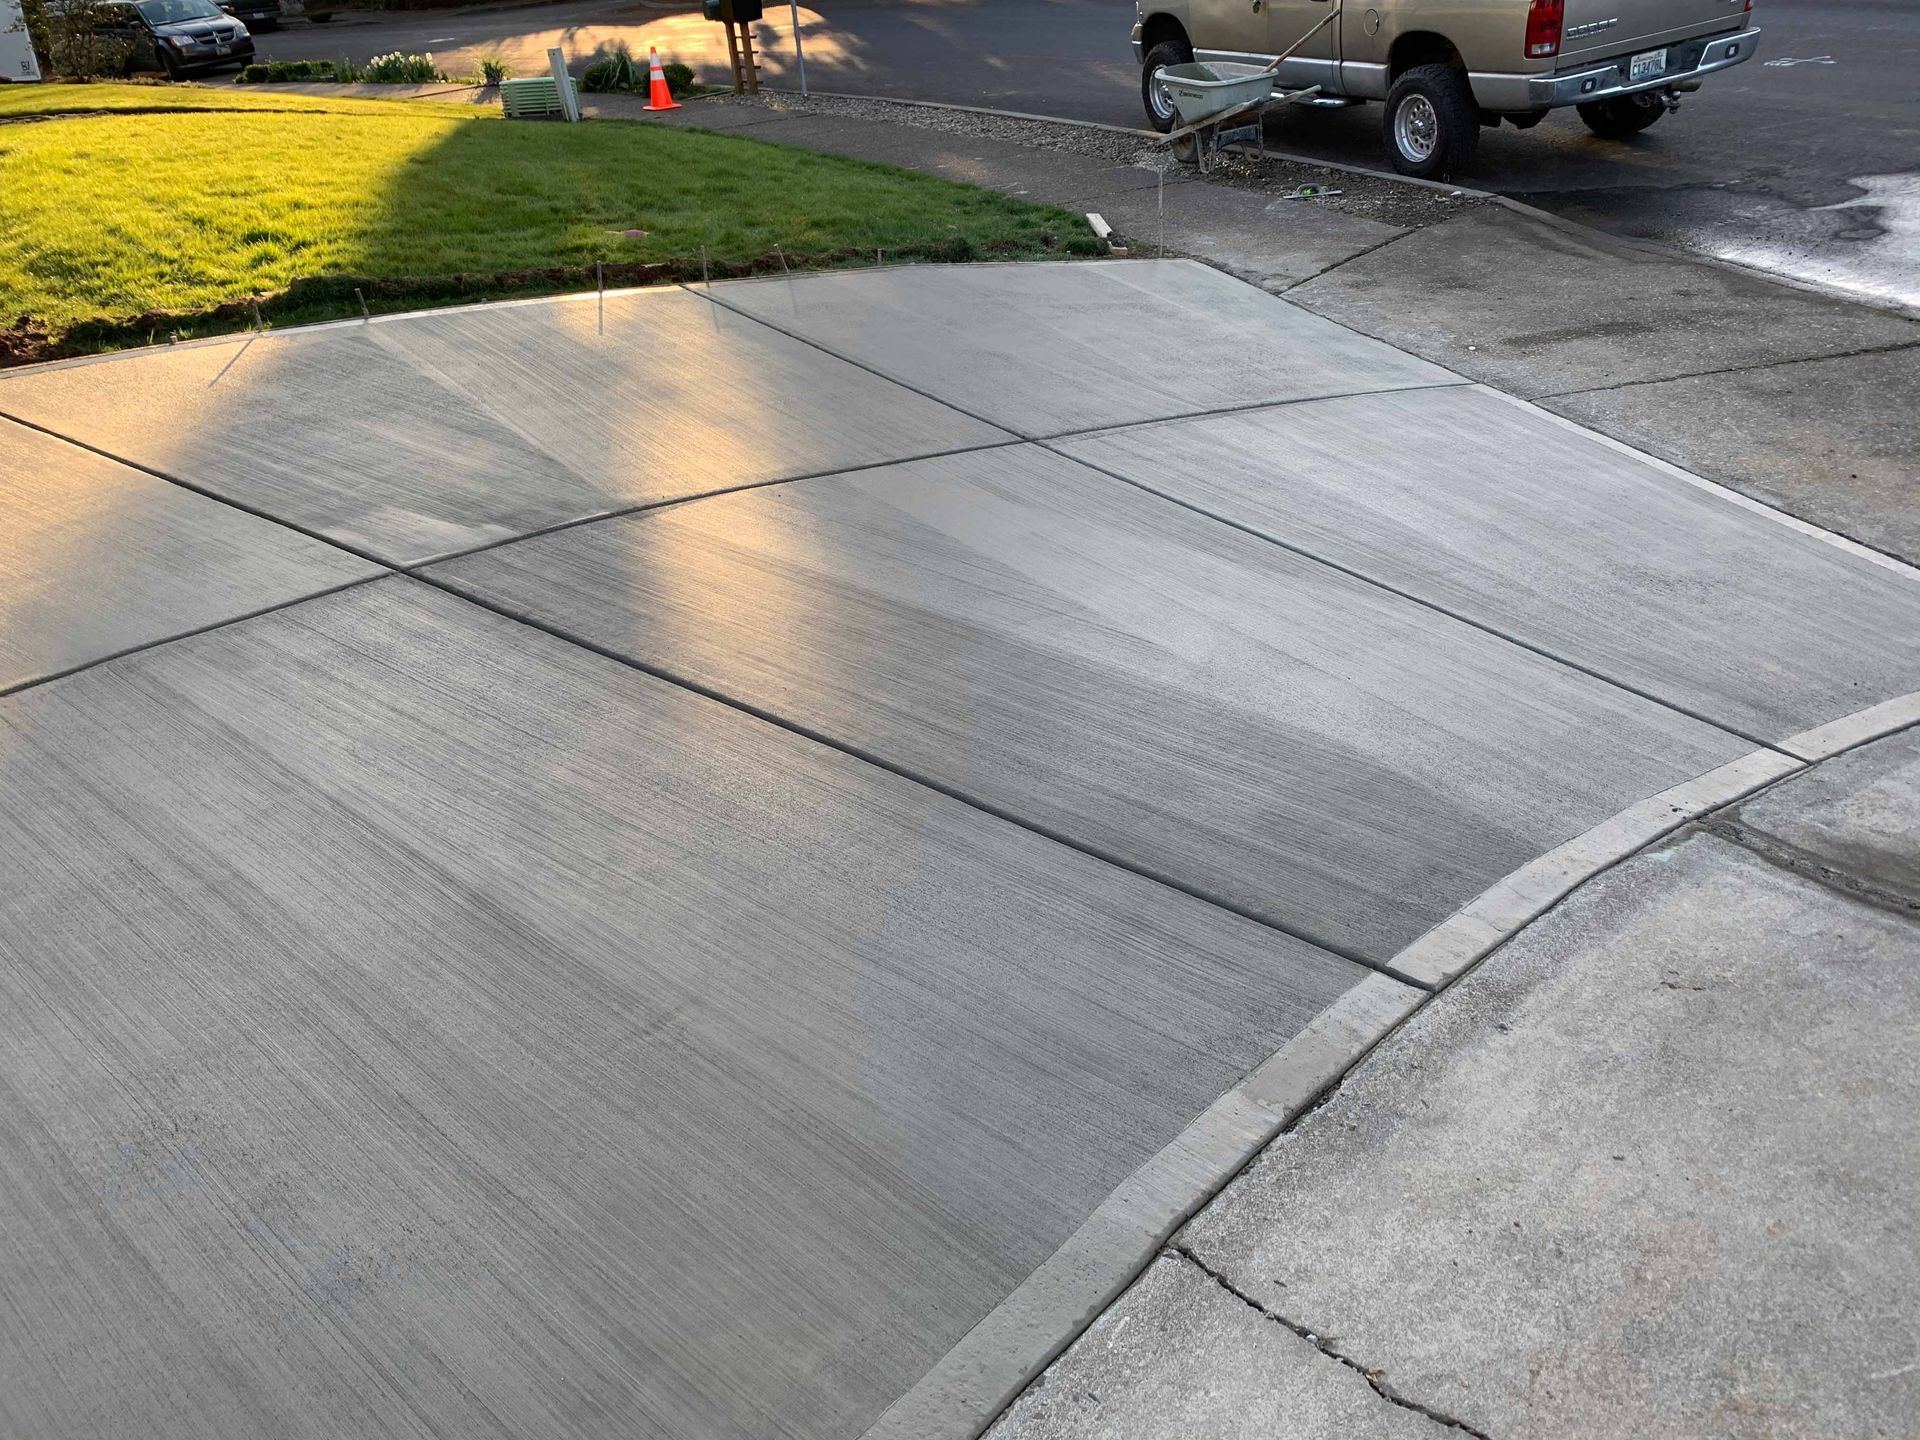
A concrete driveway offers strength, longevity, and style. Discover how it enhances curb appeal, reduces maintenance, and adds value to your property.
Explore various concrete finish options like polished, stamped, and exposed aggregate. Find the perfect finish for your indoor or outdoor project today!

Learn how to install a concrete patio with this step-by-step guide. From site preparation to sealing, get expert tips for a durable and stylish patio.

Explore concrete foundations in Portland OR, including types, benefits, and applications for residential and commercial projects. Build on a solid foundation.

The Importance of Regular Concrete Sidewalk Maintenance Concrete sidewalks do more than guide guests to your front door; they create a lasting first impression. Like any part of your property, sidewalks need some tender loving care to stay sharp and strong. Neglecting them, even for a short while, can lead to cracks and chips that compromise their integrity. By staying on top of regular maintenance—like cleaning and addressing minor cracks—you ensure their longevity. Just like changing the oil in your car, these small, proactive steps today can prevent larger headaches down the line! Best Practices for Cleaning Your Concrete Sidewalks Choose the Right Time: Clean during mild weather in spring or fall for the best results. Gather Essential Tools: You’ll only need a broom, a hose, and your best effort. Sweep First: Remove dirt, leaves, and debris before rinsing. Rinse Well: Use water to eliminate dust and dirt. Tackle Stains: Mix water with mild dish soap for stubborn stains, scrub gently, and rinse. Consider a Power Washer: If you use one, keep the pressure low to avoid damaging the concrete. Remember, a clean sidewalk enhances safety and curb appeal!

Discover how concrete retaining walls can enhance your landscaping, prevent soil erosion, and create a durable, beautiful outdoor space with Detail Concrete.
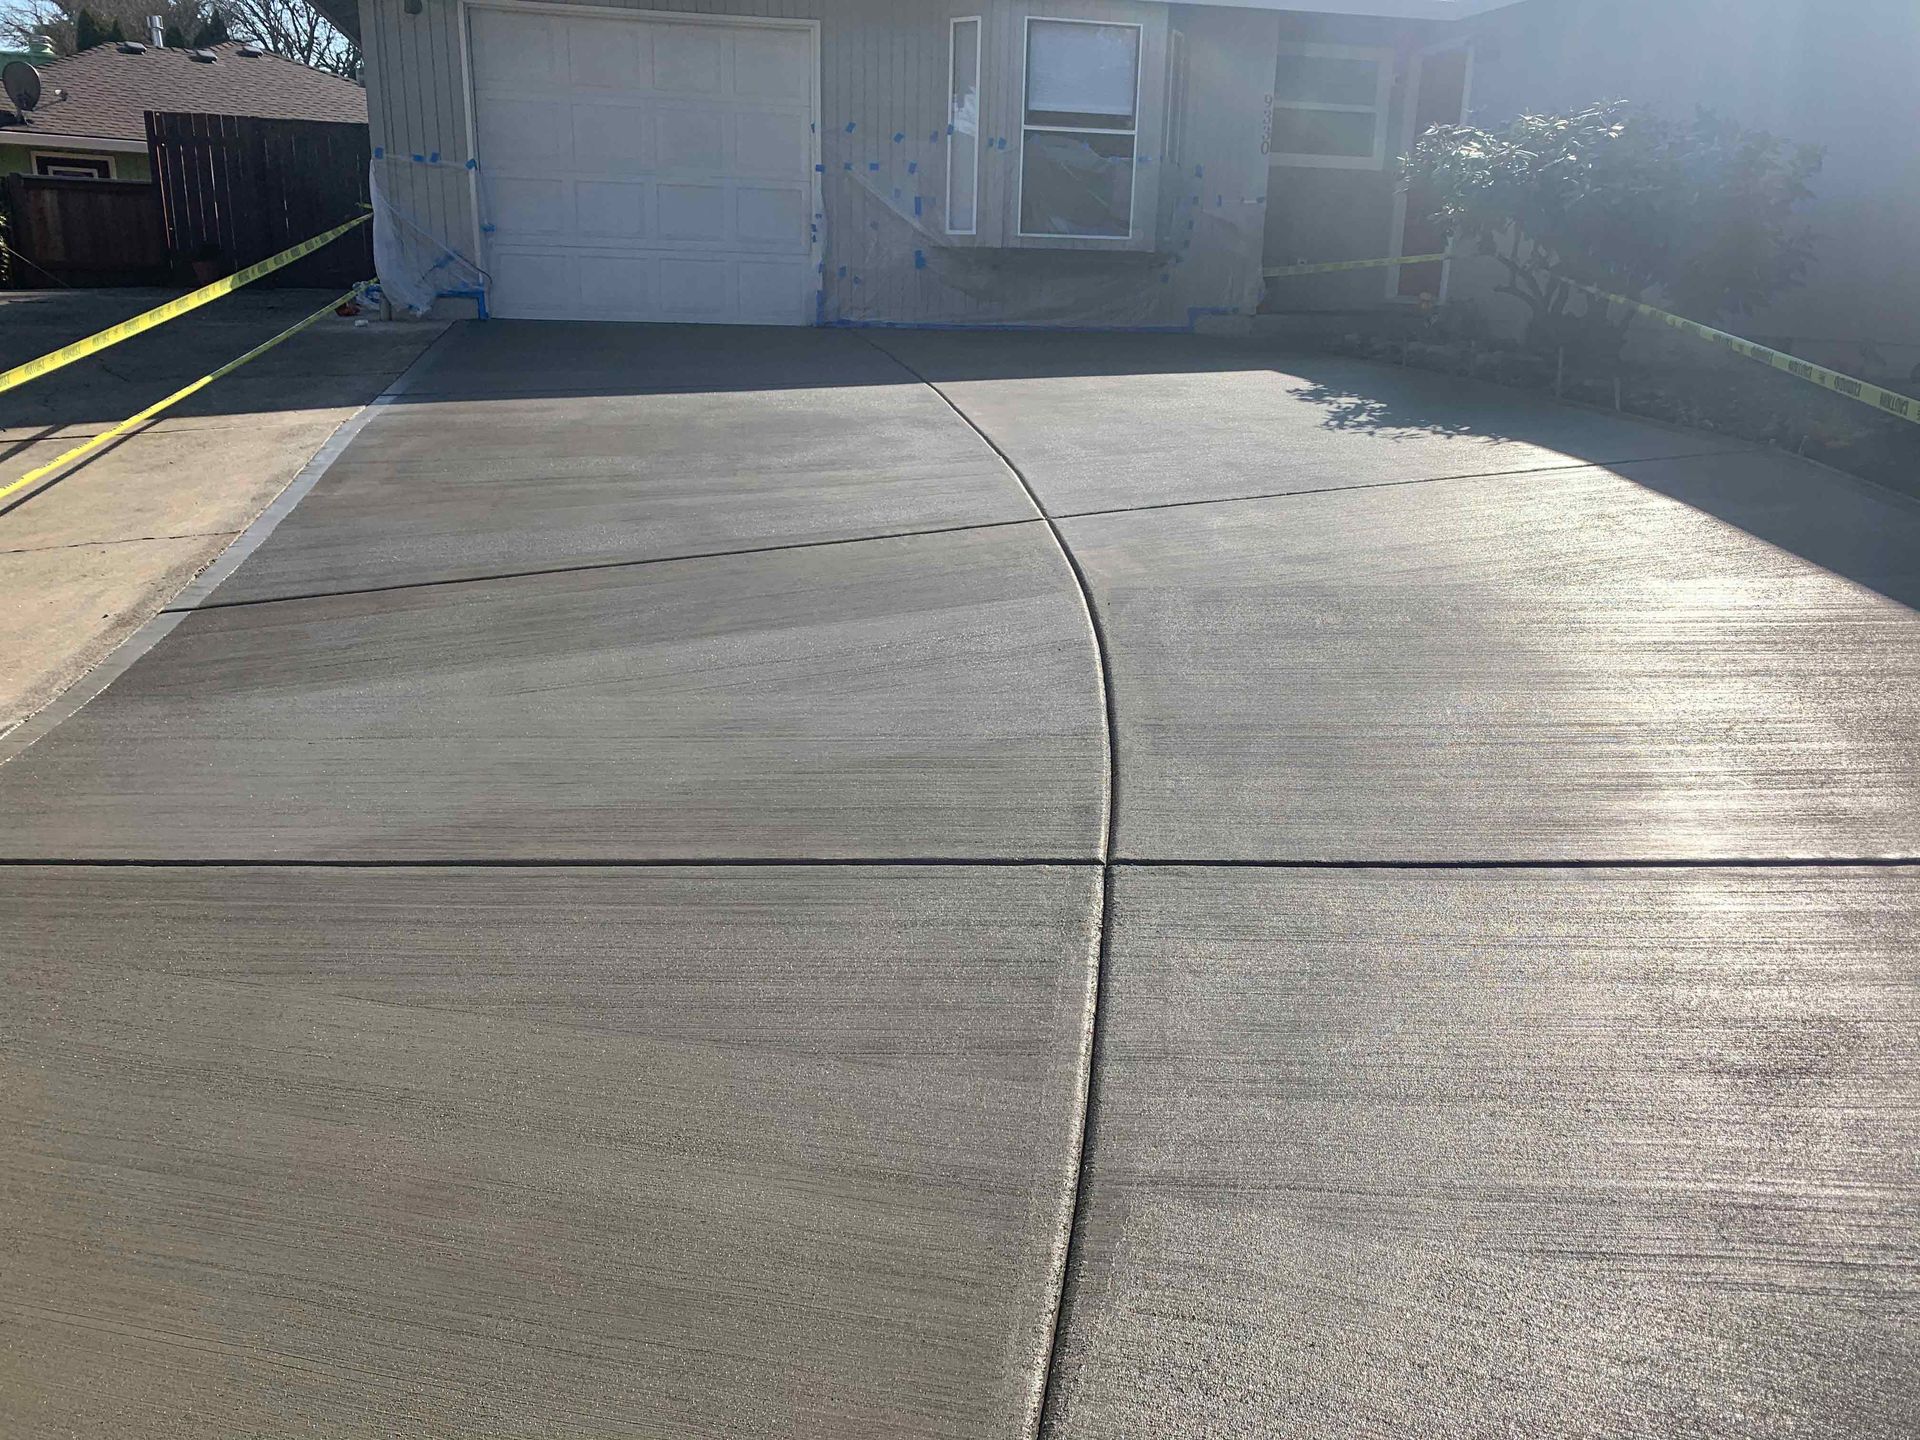
Considering a driveway upgrade or looking to enhance your home’s curb appeal? A concrete driveway could be an excellent choice. Known for their durability, concrete driveways can handle heavy vehicles and last for years. They also offer versatility in design, allowing customization through various colors, textures, and patterns that transform a plain driveway into an attractive feature. Regardless of a basic or decorative finish, you’ll find that a concrete driveway provides a solid return on investment. At Detail Concrete, we master everything concrete in Portland. In this blog post, we will help you understand why a concrete driveway is one of the best home improvements you can make. Let’s get started!
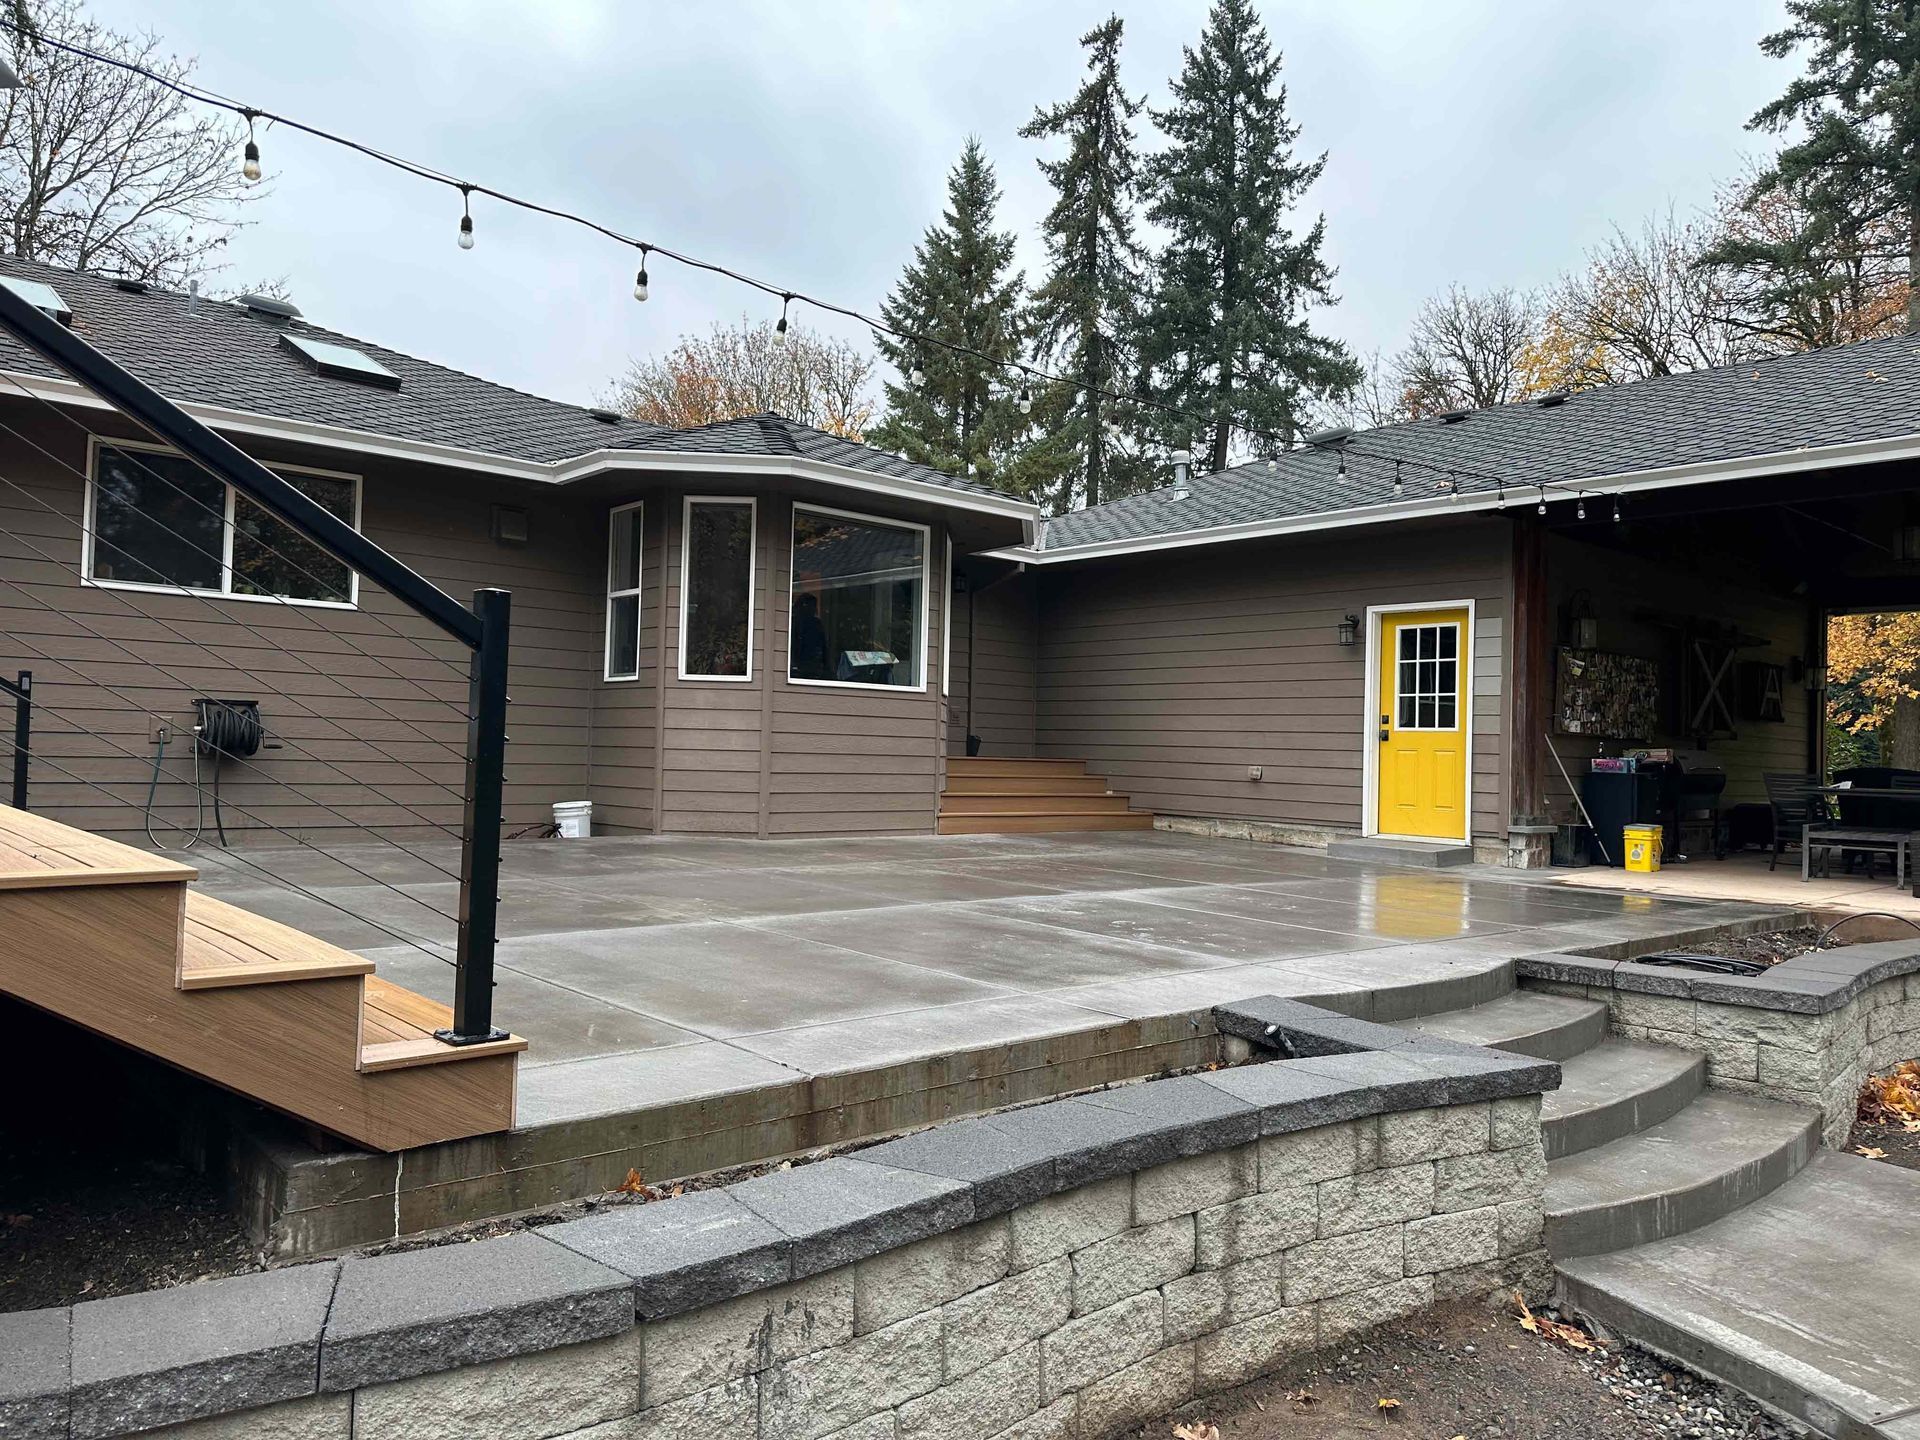
Expert tips from Detail Concrete LLC on maintaining your Portland concrete patio. Learn cleaning, sealing, and repair techniques. Call (503) 849-0863.
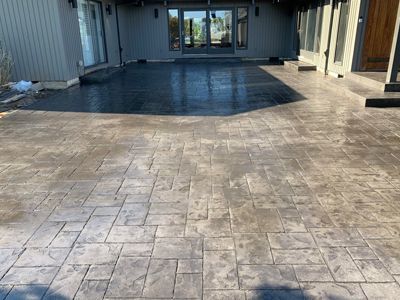
Discover the ultimate guide to choosing the right concrete finish for your project. Learn about different finishes and find the perfect one for your needs.
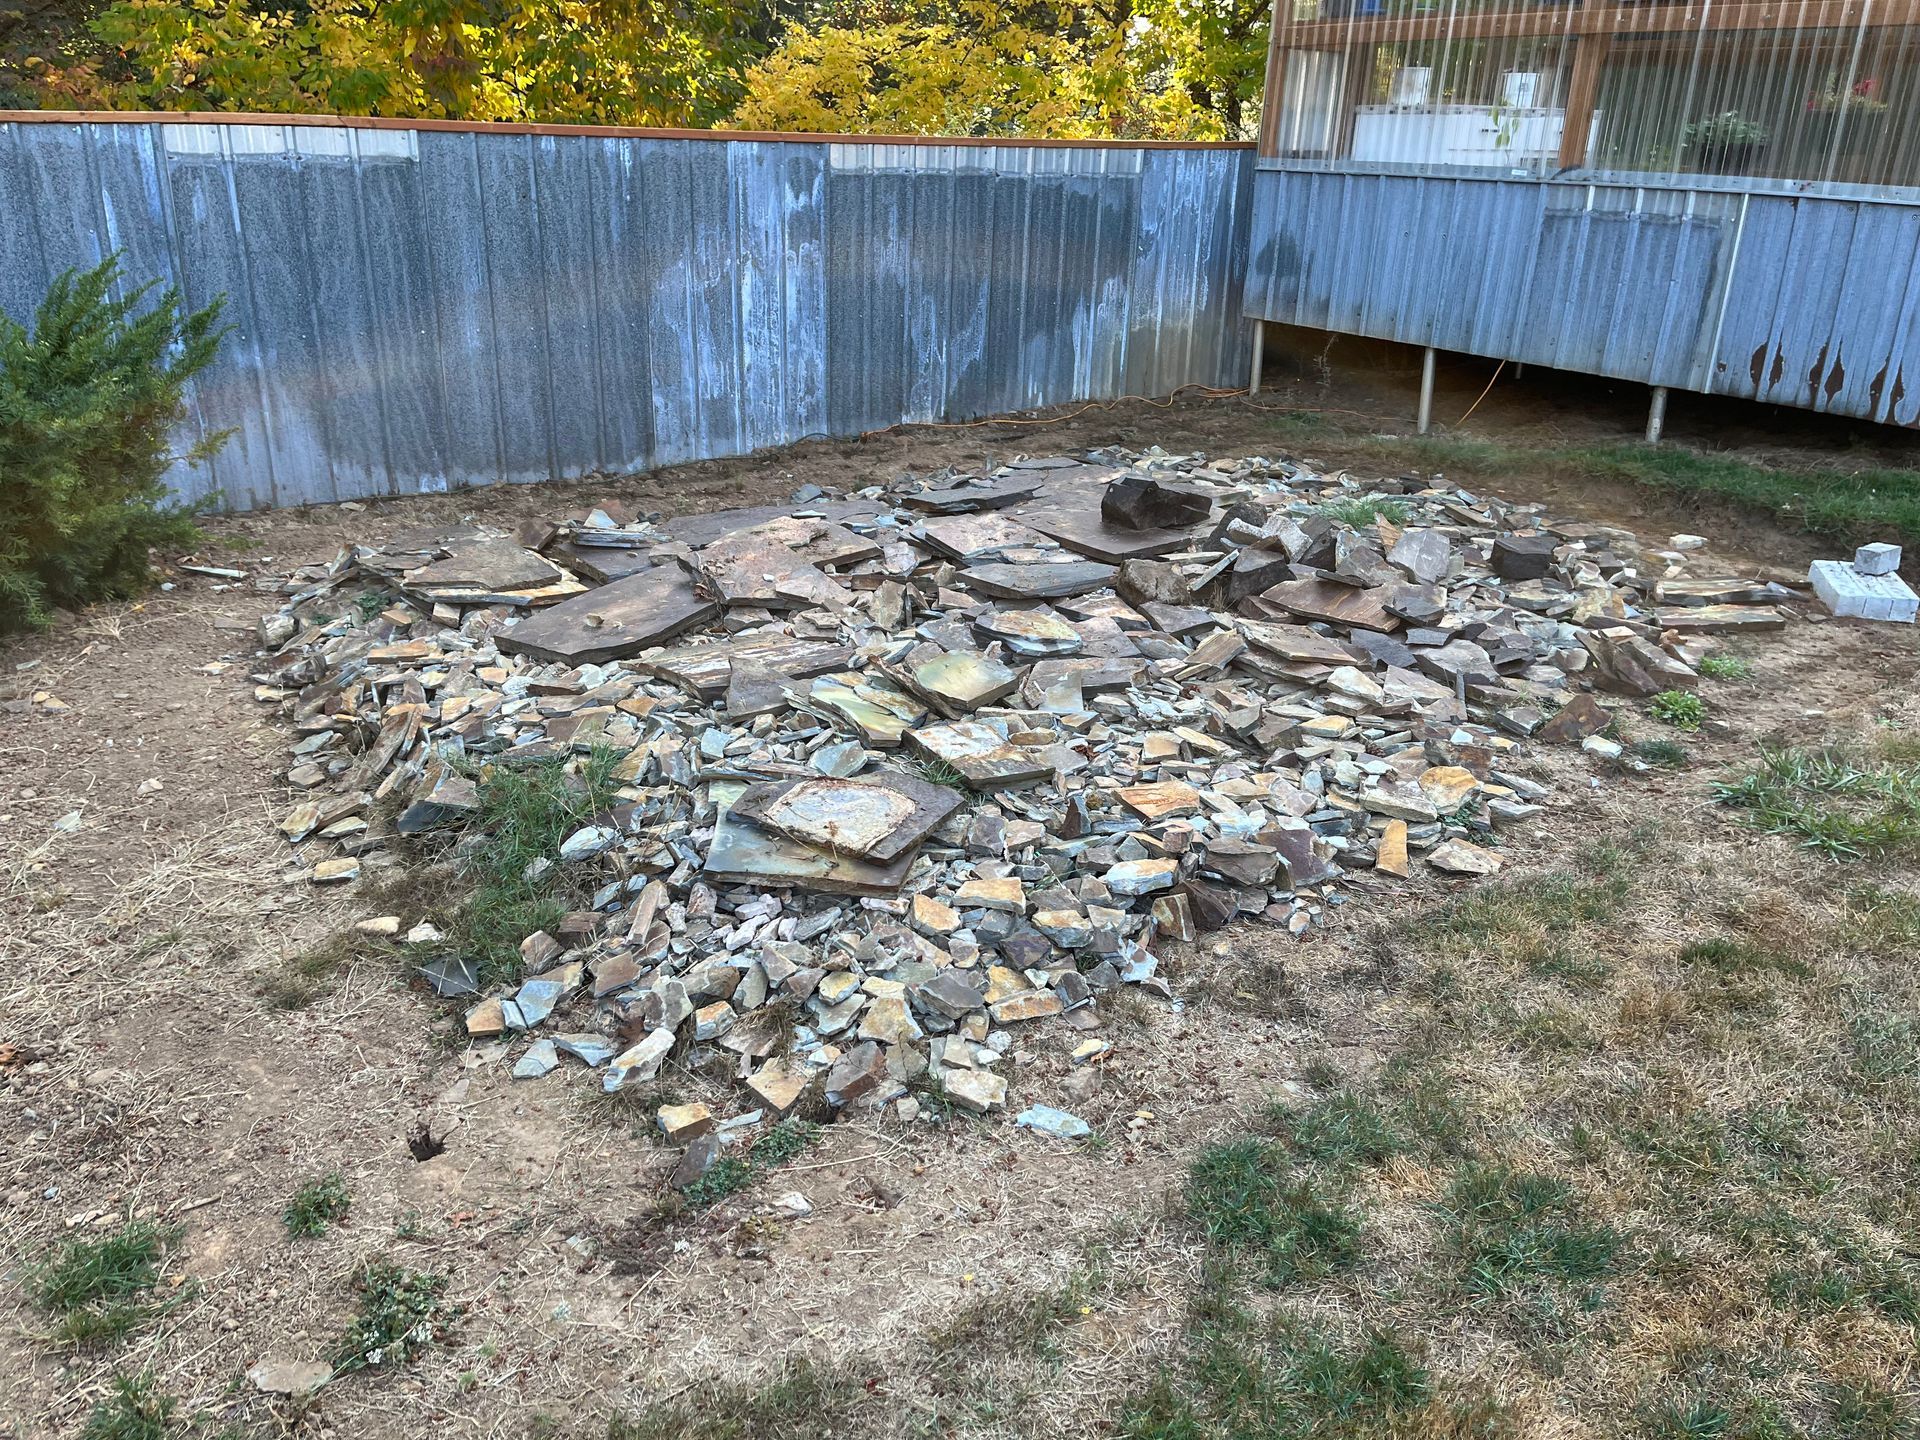
Discover the essential steps and best practices for concrete removal in 2024. Detail Concrete LLC in Portland, OR, provides a thorough guide to ensure your project is efficient and successful.


